45 Tools Knowledge: Concrete and Masonry
Learning Objectives
Identify common concrete working tools, their purpose, and use.
This chapter covers tools used for masonry and concrete. This can be viewed is an extension (optional) topic, as it is not explicitly stated in the curriculum.
Hand Tools- Concrete Finishing
Concrete Finishing Essential Tools
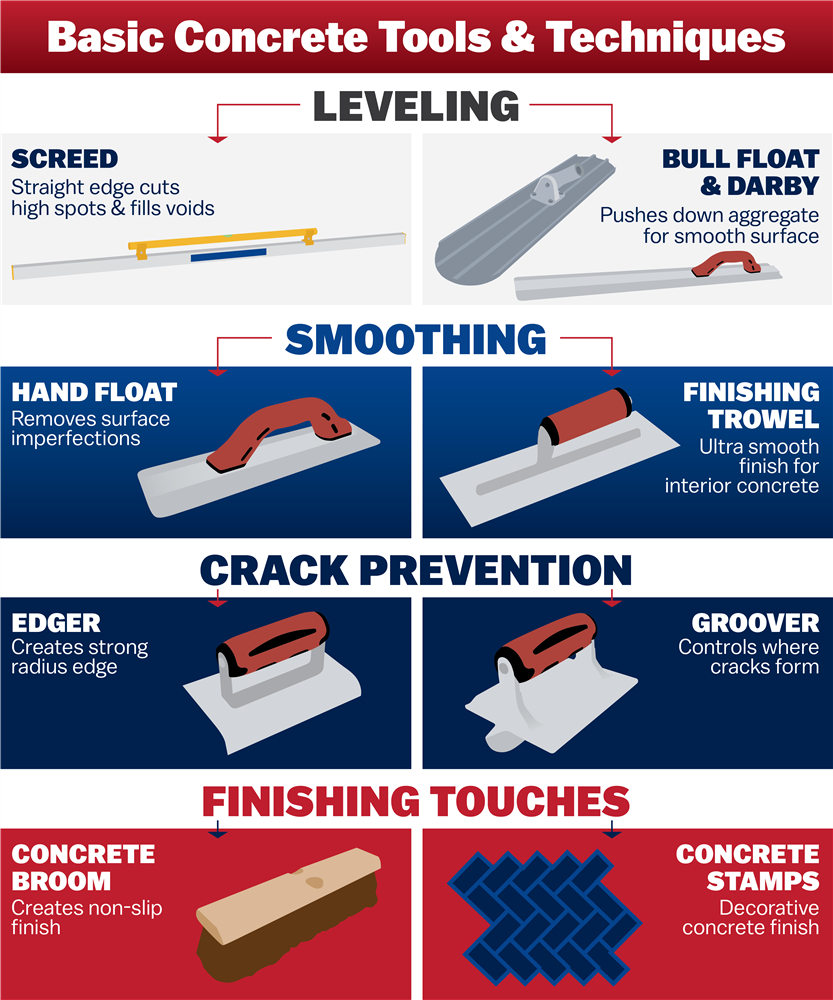
Concrete finishing trowels
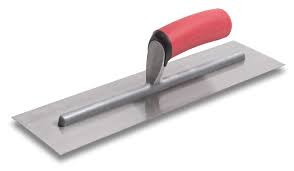
Concrete finishing trowels are used in finishing the surface of the concrete to the required smoothness. Troweling represents the last stage in the finishing process. This action helps compact the surface and adds to the quality and durability of the job. Finishing trowels are narrower and longer than plastering trowels and the blade is slightly convex. The standard width is 4″ but the length may range from 12″ to 20″. The most popular sizes are 14″ x 4″ and 16″ x 4″ inches. Many finishers also use a fanning pattern for the final finishing which usually requires a narrower blade that is 3 to 3-1/2 inches wide. Ten rivets are used in the shorter trowels but as many as 16 are used in the longer sizes.
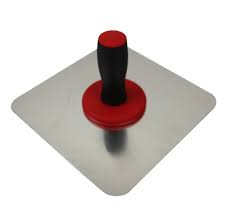
Bull Float
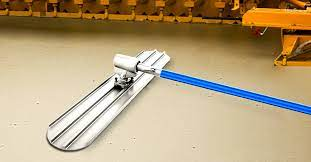
A bull float is a large flat, rectangular piece of wood, aluminum or magnesium, usually 8 in. (200 mm) wide and 40-60 in. (1000-1500 mm) long with a handle 4-16ft. (1200-4800 mm) long. The bull float is more commonly used outdoors or where there is enough room to use the long handle.
Hand Floats
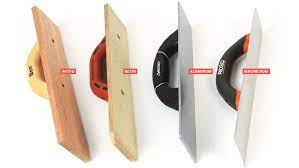
Hand floats are made of aluminum, magnesium or wood. They are used for floating the concrete around pipes and columns, and against walls or other areas which bull floats cannot reach.
Edgers
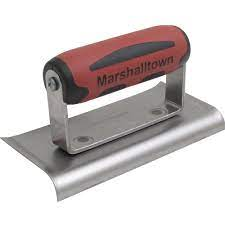
The edger comes in many sizes; all are about 6in. (150mm) long and vary in width from 11/2 to 4in. (38-100 mm). Lips range from 1/8 to 11/2 in. (3 to 38 mm). The curved-end edger is one of the more popular types
Jointers
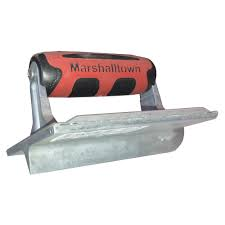
Jointers come in a few different styles dependant on use and manufacturer. The ones shown are most common to the professional finisher because of their depth of cut and quality of material. A long handle (similar to a rake handle) is used for hard to reach operations or wide slabs to avoid stepping on the fresh concrete.
Concrete Rake

The rake is used in the placing process. It can be used either with the notched side or the straight side for levelling cement.
Finishing Broom
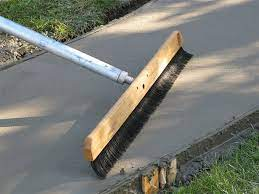
The broom is used for putting a broomed finish on sidewalk applications. Some come with extension handles for wider slabs, such as driveways.
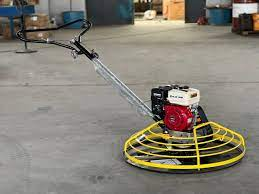
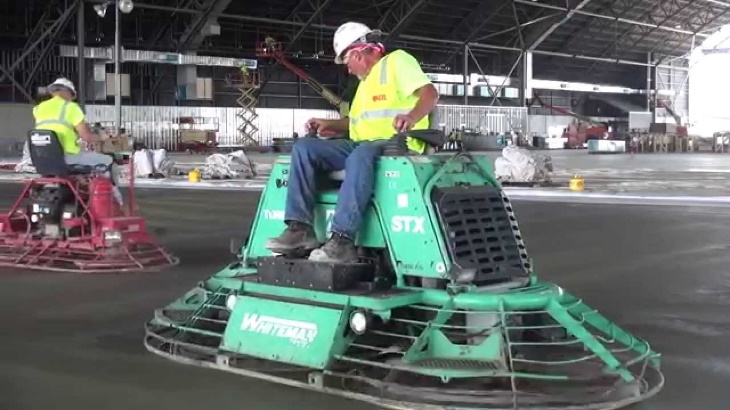
Power Trowel
By far the most common power tool is the Power Trowel. It is used to finish large expanses of placed concrete. They are gas powered and come in various sizes based on the diameter of blade rotation. They also use two different blades for each stage of work. The float blades are used first and then removed to trowel. The float blades are attached with built in clips that snap over the finish blade.
Operation and Maintenance
As with all concrete equipment, cleaning immediately after use is important. Getting the concrete off the tools is much easier when it is wet than when it has set up.
Keep all handles and other removable parts, securely fastened and free of rough edges.
Power Trowel float blades should be cleaned right after they are removed.
Trowel blades should be free of frayed edges and imperfections on the troweling surface.
Discard the tool if rivets are starting to mark the finished surface.
Other Common Concrete Tools
Screed, used to place concrete at a consistent level. Usually made of wood ( 2×4 ) perfectly straight, or manufactured material ( magnesium ). Usually no longer than 12 feet long.
Knee boards, used to work large expanses of concrete when it is necessary to work on the fresh slab ( at the proper time of course!)
Long handled Finishing Trowel, as the name implies, is designed to function much like the long handled jointer on large applications. Comes in 24” to 36” widths.
Hand Tools – Masonry
Mason’s Tool Kit
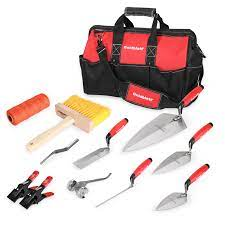
The mason’s tool kit must be properly maintained, because of the safety aspect and, because the tools can be quite expensive.
When purchasing tools, consideration must be taken on how often the tools will be used. With every day use, the tools have to be made to be able to withstand the work. Often this is not the case with less expensive tools.
Below is a list of the tools, how they should be used and properly maintained:
Brick Trowel
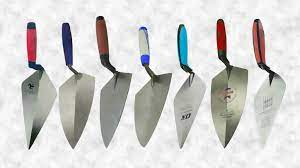
These come in various sizes and shapes ranging between ten and fourteen inches. One side of the trowel has a more rounded edge for rough cutting This use is not advised for the beginner. The measurements are the actual blade size, the width of trowel also varies and beginners will find a narrower trowel easier to use. The rounded side on the trowel makes it suitable for both left and right handed operators. When the trowel is not in use for a period of time, clean it, dry it and apply a light coat of oil to avoid rusting.
Pointing Trowel
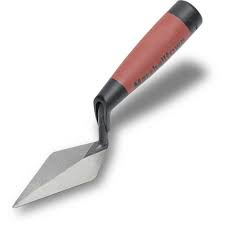
A smaller version of the brick trowel but with both edges being straight. These are used for certain types of pointing or to add a finish to the brick work and should be maintained as the Brick trowel.
Spirit Level
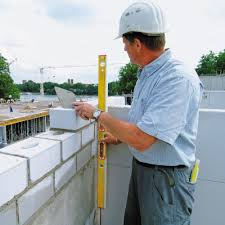
Spirit levels are used to keep the courses of brick plumb as you stand your wall. Care for this tool is important in order to maintain the accuracy of the tool and straight appearance of the wall
Line and Pins
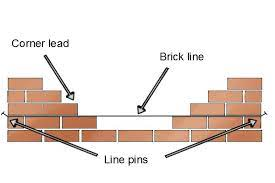
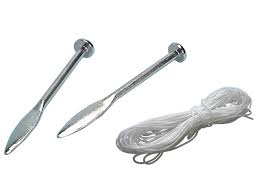
These are used when corners of the building have to be built to run in the bricks between. The pins are tapered at the ends to allow for inserting into joints. It is important that the line is kept free of knots and clean of mortar.
Corner Blocks
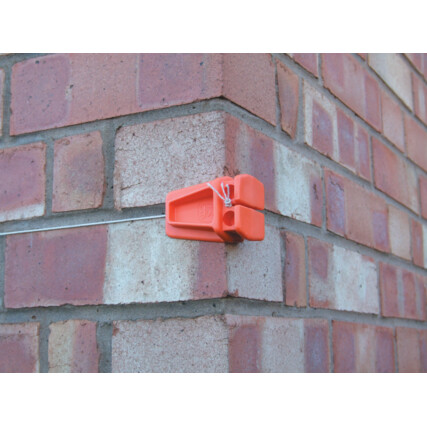
These are used in pairs as an easy method of holding the line up. These are inexpensive as you can make your own.
Tingle Plate
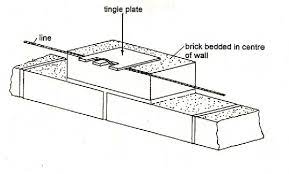
Another less expensive tool but of great use. It is used for holding the line up over long wall lengths to remove any sagging.
Club (or lump) Hammer
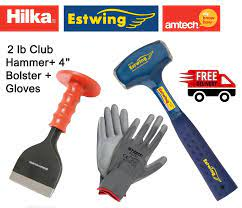
Used with either a bolster or chisel. It is essential that the head is secure and checked regularly to ensure it never comes loose. Always wear eye protection.
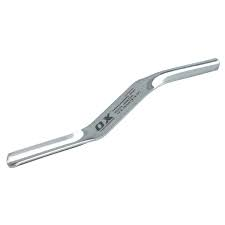
Bolster
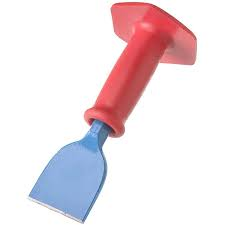
Used for cutting bricks. Eye protection must be used at all times when the bolster is being used. The end should never be allowed to burr over. This is known as a mushroom and can splinter when being hit. The end should be kept free from mushrooming by grinding. Grinding will also sharpen the tool.
Cold Chisel
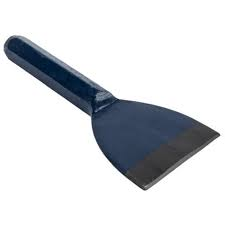
Similar to a bolster but with a smaller blade, used more for cutting into brickwork after it has been laid, such as for letting in services. Again, maintenance and safely procedures should be followed the same as for the bolster.
Hawk
A small hawk is used when pointing a lot and makes it easier to hold the mortar.
Brick Hammer and Comb Hammer
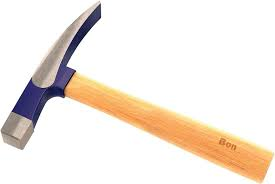
Two similar types of hammer, one with a fixed head, the other with detachable blades. When the teeth have worn down, the blades can be renewed. They can be used for a number of jobs:
- tidying the edges of cuts to leave a clean edge
- for what is known as chasing, i.e. letting cables into walls before plastering
Again, safety is of the utmost importance. Goggles must be worn at all times and hands and fingers must be kept clear.
Jointing Tools
Used for putting a finish to the joints in brickwork. A halfround joint is also known as a bucket handle finish. Two types are shown, these can now be bought from shops but an old pail or bucket handle can be bent to a suitable shape.
Steel Tape
The types most commonly used by bricklayers these days would be very convenient in size and easily transported via the belt or pocket. When used in wet conditions it must be wiped after use to prevent rusting.